steve davies :: garden | |
|
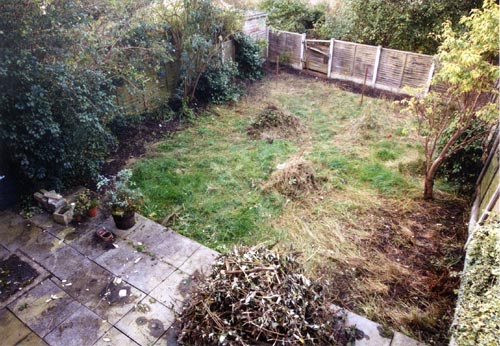
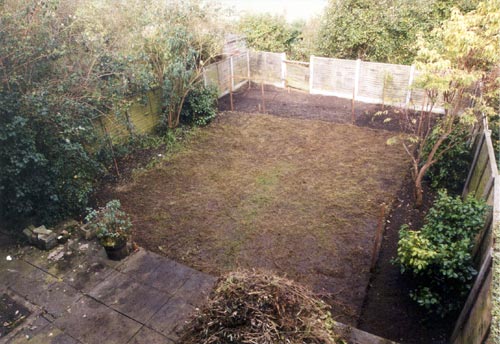
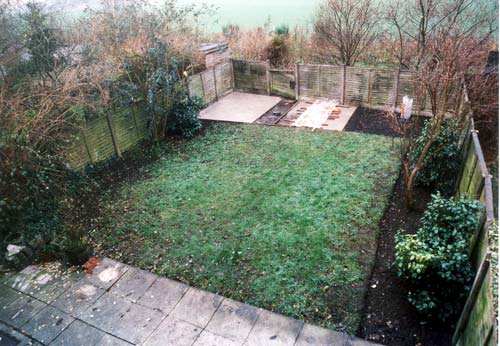
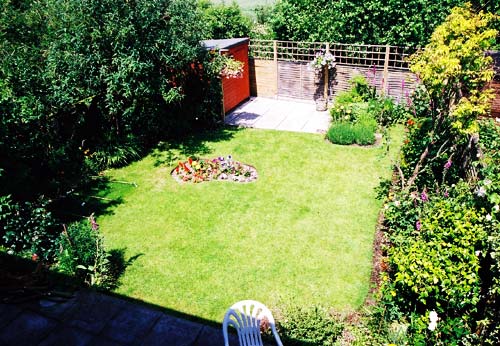
October 2001 - My back garden hadn't been touched in years until one day I got the urge to sort it out.
Actually, I thought that if I had a shed to put all of my tools in then it would be easier to get to them when I needed them (at the moment all the tools live in the garage and it's difficult to get to anything once the car's in there as well). So, I began to work on my back garden so that I could have somewhere to put a shed. The rubbish piles began to grow.
|
|
|
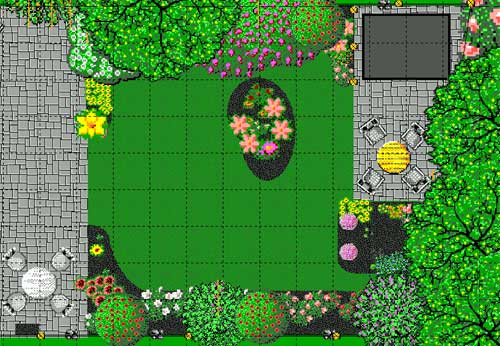
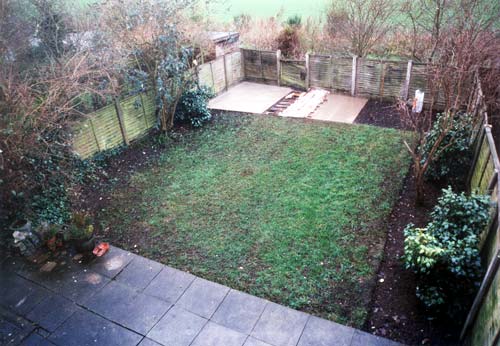
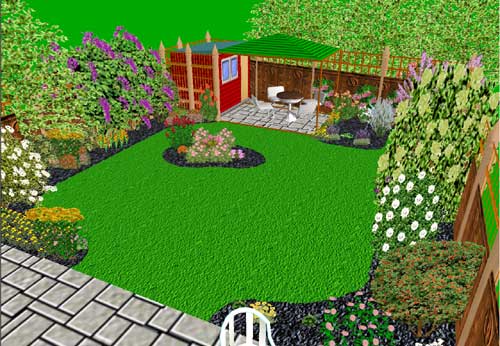
October 2001 - During the month my back garden plan began to develop. What had started as a simple exercise to tidy up a bit and put up a shed was quickly developing into an entire garden makeover with a new patio next to the shed and all other manner of ideas coming and going.
|
|
| The plan and 3D view were produced using Geoff Hamilton's 3D Garden Designer software. | |
|
October 2001 - As I hacked out all the overgrown borders and lawn the rubbish piles got bigger.
|
|
|
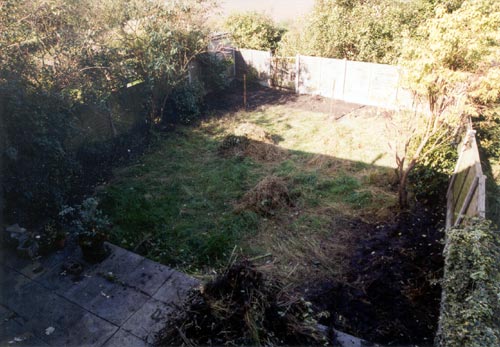
October 2001 - Eventually things began to take shape. Some of the rubbish had been removed but the pile was still nearing two metres in height and also in diameter!
However, most of the hard work was over. I seemed to have got back some control over my back garden and it was taking shape. One of the Camelias had to move from the top left corner and a couple of rose bushes along the back fence also needed to move. The ivy growing over (bottom right) the fence also needed attention.
|
|
|
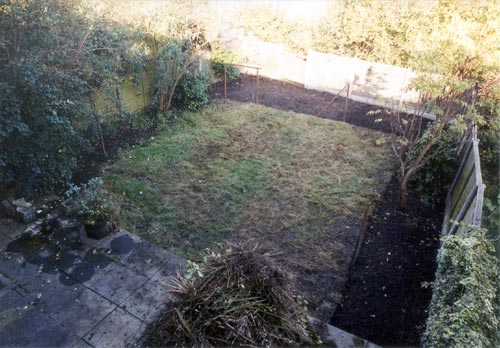
October 2001 - I discovered that a one and a half metre tall Camelia complete with it's soil ball is very heavy!.
Nevertheless towards the end of the month all the overgrowth had been removed, the Camelia was rehoused in the bottom right corner, the rose bushes relocated along the back fence and the ivy had been trimmed. Some deep weed roots still remained but I turned over the soil almost daily and ripped out any roots I could find to keep the plot tidy. The lawn was repeatedly raked to pull up all the weed grass and consequently looked quite bare after all of this.
|
|
|
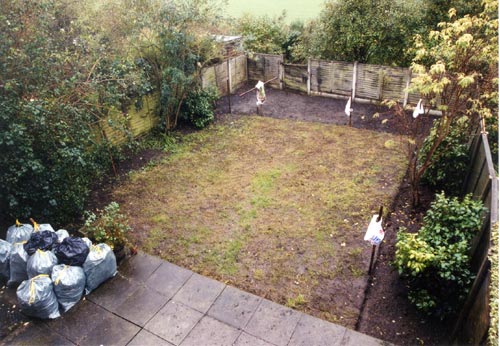
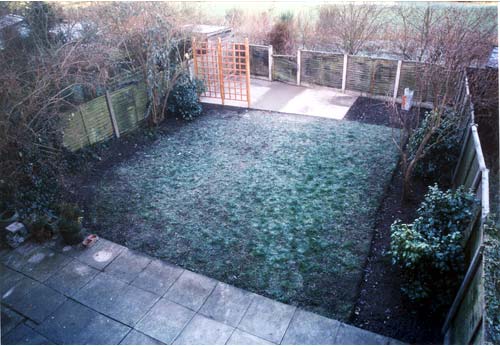
October 2001 - By the end of the month my back garden was clear of all the overgrowth.
All that was needed now was to bag up the remains and take it off to the dump ... several trips and sixty bag fulls later that was the rubbish gone! I reseeded the lawn and it soon began to show a bit of colour.
|
|
|
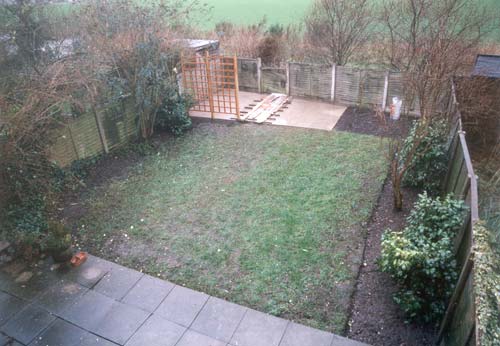
November 2001 - Throughout the month I keep on top of the weeding and then towards the end of the month I began to lay the shed base and patio area. Each area is 3m x 2.4m plus a small triangular piece as a result of the back fence going off at an angle. This makes each area about 8 sq m and is 75 to 100 mm deep. I plan the finished level to be about one inch above the lawn level.
The first 25mm depth is 20mm limestone aggregate (ten x 40Kg bags) laid on plastic sheeting and sprinkled with one x 25Kg bag of cement. This is left to moisten naturally in the autumn night air and slowly go off over the week. The last weekend in the month I use four x 25Kg bags of cement, two x 40Kg bags of sand and three x 40Kg of bags of 10mm limestone aggregate and seven x 40Kg bags of all-in-ballast (a mixture of sand and course aggregate) to form a 30mm thick layer of concrete.
|
|
|
December 2001 - Next comes the patio area. I've switched the plan repeatedly between flags or decking for this area and eventually decided on flags purely because that's what my wife says she wants!
Since it'll be some time before I get the paving flags I decide to make the ground of the patio area more stable with concrete. The area is split into four sections. The first section takes two x 25Kg bags of cement and five x 40Kg bags of all-in-ballast to concrete. A small amount of overflow is spread thinly across the base of the next section.
|
|
|
For the second section I use two x 25Kg bags of cement with six x 40Kg bags of all-in-ballast. The overflow being spread into the third section.
|
|
|
For the third section I use two x 25Kg bags of cement with six x 40Kg bags of all-in-ballast. There was no overflow to speak of this time.
|
|
|
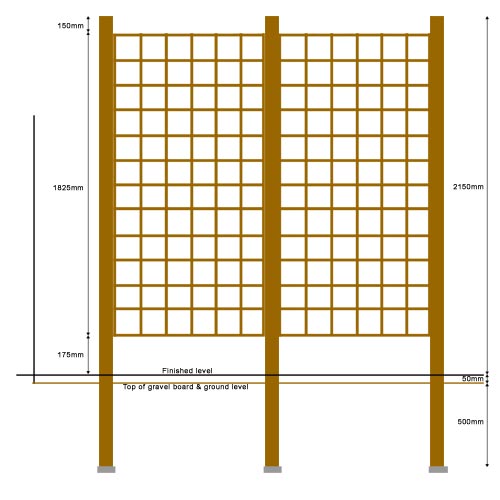
Before I complete the concreting I put up a trellis. This will hide the shed from view. The idea of putting this up now is that any excess concrete can be used on to fill in the post holes.
The trellis consists of three 2.7m x 75mm x 75mm posts and two 1825mm x 910mm trellis panels. These are nailed together flat and temporary support members are also attached. Then three holes are dug with a piece of paving slab in the bottom of each as a footing.
|
|
|
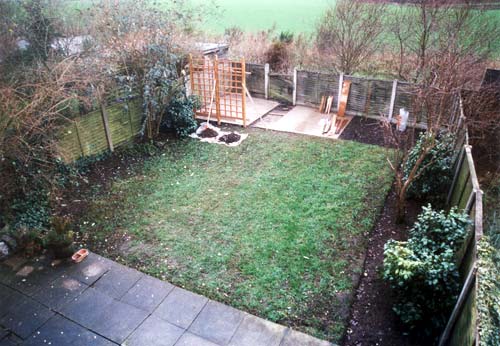
The trellis assembly is then lifted as one and slid into the holes. One 40Kg bag of concrete is used in each hole to part secure the posts.
|
|
|
For the fourth and final section of the patio base I use three x 25Kg bags of cement with seven 40Kg bags of all-in-ballast and one 40Kg bag of 10mm limestone aggregate. The overflow just completes the filling of the post holes.
|
|
|
December 22, 2001 - Finally the concreting is complete.
|
|
|
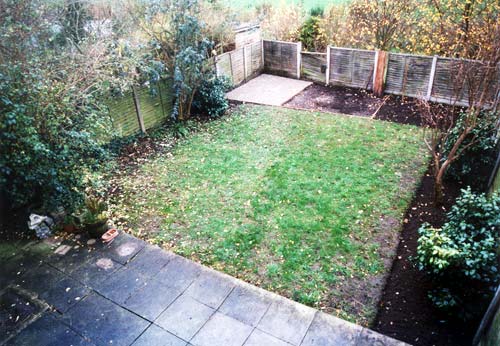
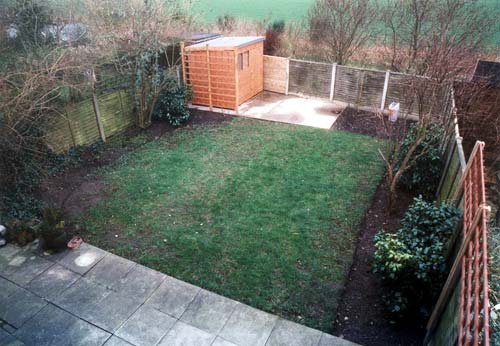
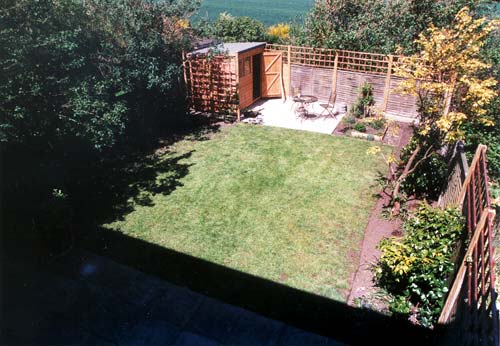
January 2002 - a 2.4m by 1.8m Pent style shed is erected on 4 wooden bearers 50mm x 75mm section on top of the shed base area.
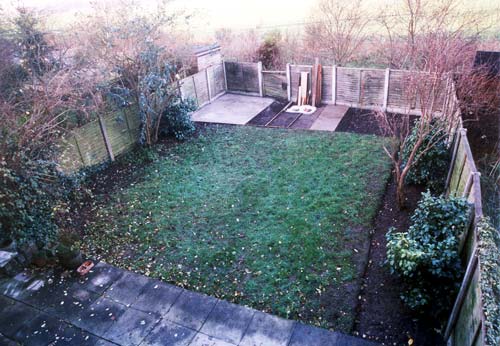
February 2002 - Erect 600mm trellis above right side fence, repair back fence, keep weeding
|
|
|
February 2002 - Plant Anemone Japonica near Camelia, Lonicera Japonica Halliana (Honeysuckle) on lower patio (Bottom RH corner, out of view). Keep weeding.
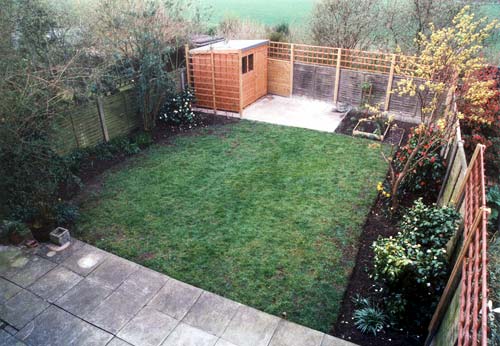
March 2002 - Erect 600mm trellis above back fence and more on right side.Build raised herb garden and access path in top right corner.
|
|
|
April 2002 - Buy handcrafted steel furniture for patio. This is from the Tuscany Collection in the Piazza range from Leisuregrow Products Limited. Plant bare rooted roses at bottom and right hand side. Plant Clematis to grow aorund tree on right hand side. Keep weeding.
|
|
|
May 2002 - Weed & feed lawn. Regularly feed plants. Plant Clematis to grow up tree. Keep weeding. Plant sweet peas in tub and by bottom and RHS fences.
June 2002 - Reshape lawn and more weed & feed. Use some of the removed turf to cover the path by the raised herb garden. Make wooden benches out of spare timber. Continue regular plant feeding and keep weeding.
|
|
|
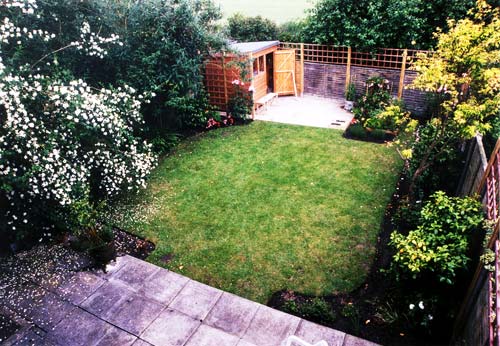
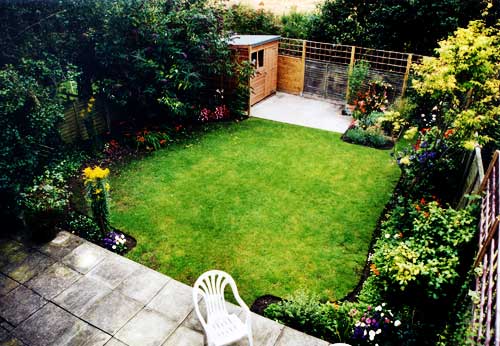
August 2002 - Garden in full bloom. Continue regular plant feeding and keep weeding.
|
|
|
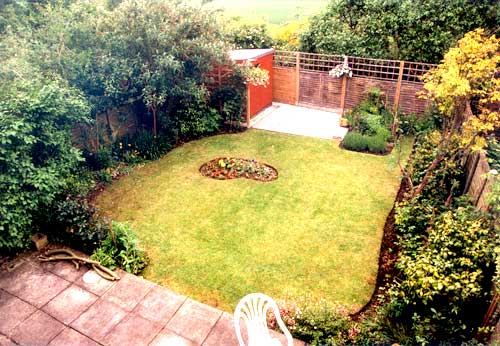
May 2003 - Added island bed.
|
|
|
July 2003 - In full bloom.
|
|
| Compare the start with now and the plan! | ||
|
|
|
|